
The Making Of A Sofa Table
Step 1 – Wood Selection
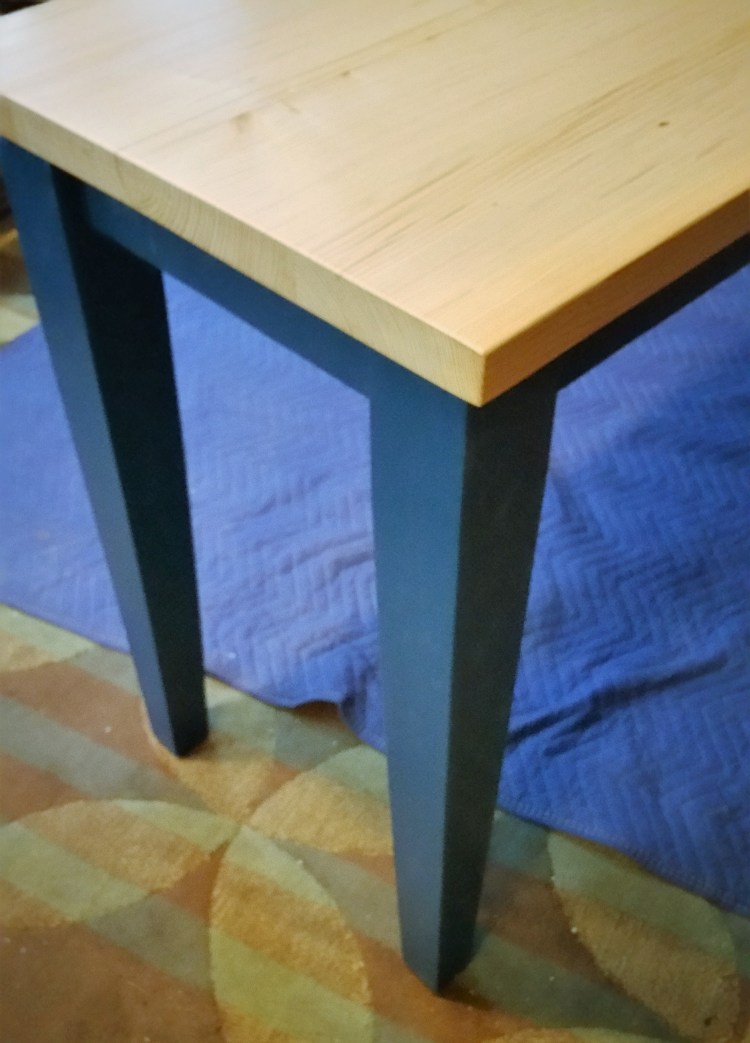
Since this table is for us, we are able to choose the wood, and luckily we had some hemlock on hand that could work. Table design will coordinate with our simple shaker style coffee table. Painted base with natural wood top.
Step 2 – Straight Lines Needed
Cutting off the live edge and creating straight pieces to work with.
Step 3 – Face Jointing
This is necessary to insure that all parts are flat, not cupped or twisted.

Step 4 – Planing
Plane to desired thickness. 1 5/16″ for the skirt and top, 3 1/4″ for the legs, which allows for an additional 1/16″ that the drum sander will remove.
Step 5 – Glue Ups & Joinery

Why the wax paper? To prevent gluing the legs together by accident. Don’t laugh, it happens….not to us of course!

Wood top is edge glued and biscuit jointed for ease of alignment and strength.
Step 6 – Drum Sanding
This step not only smooths, it brings the pieces down to their finish thickness.

Step 7 – Shaping and Cutting
Top and skirts are now cut to the proper length and legs are shaped / tapered.
Step 8 – Pre Drilling & Test Fit
Pre-drilling will not only save you a bunch of time, it will minimize damaging the painted finish during assembly.
Test fit is very important. If something isn’t quite right, you want to be able to address and correct before the finish coats are applied.
Step 9 – Finish Coats
Primer – Paint – Poly


Step 10 – Assembly
As mentioned above, the pre-drilling is a huge time saver.


In place and ready for use. We are happy with the result and look forward to building another one. For you perhaps?
Thanks for stopping by our blog!